Deposit/Withdraw FIL (Directly through Ledger)
In some cases, users might have FIL kept directly in Ledger for cold storage. If that is the case, depositing FIL to acquire pFIL is equally simple.
1. Ledger connection
Firstly, connect Ledger to the computer and enter pin.
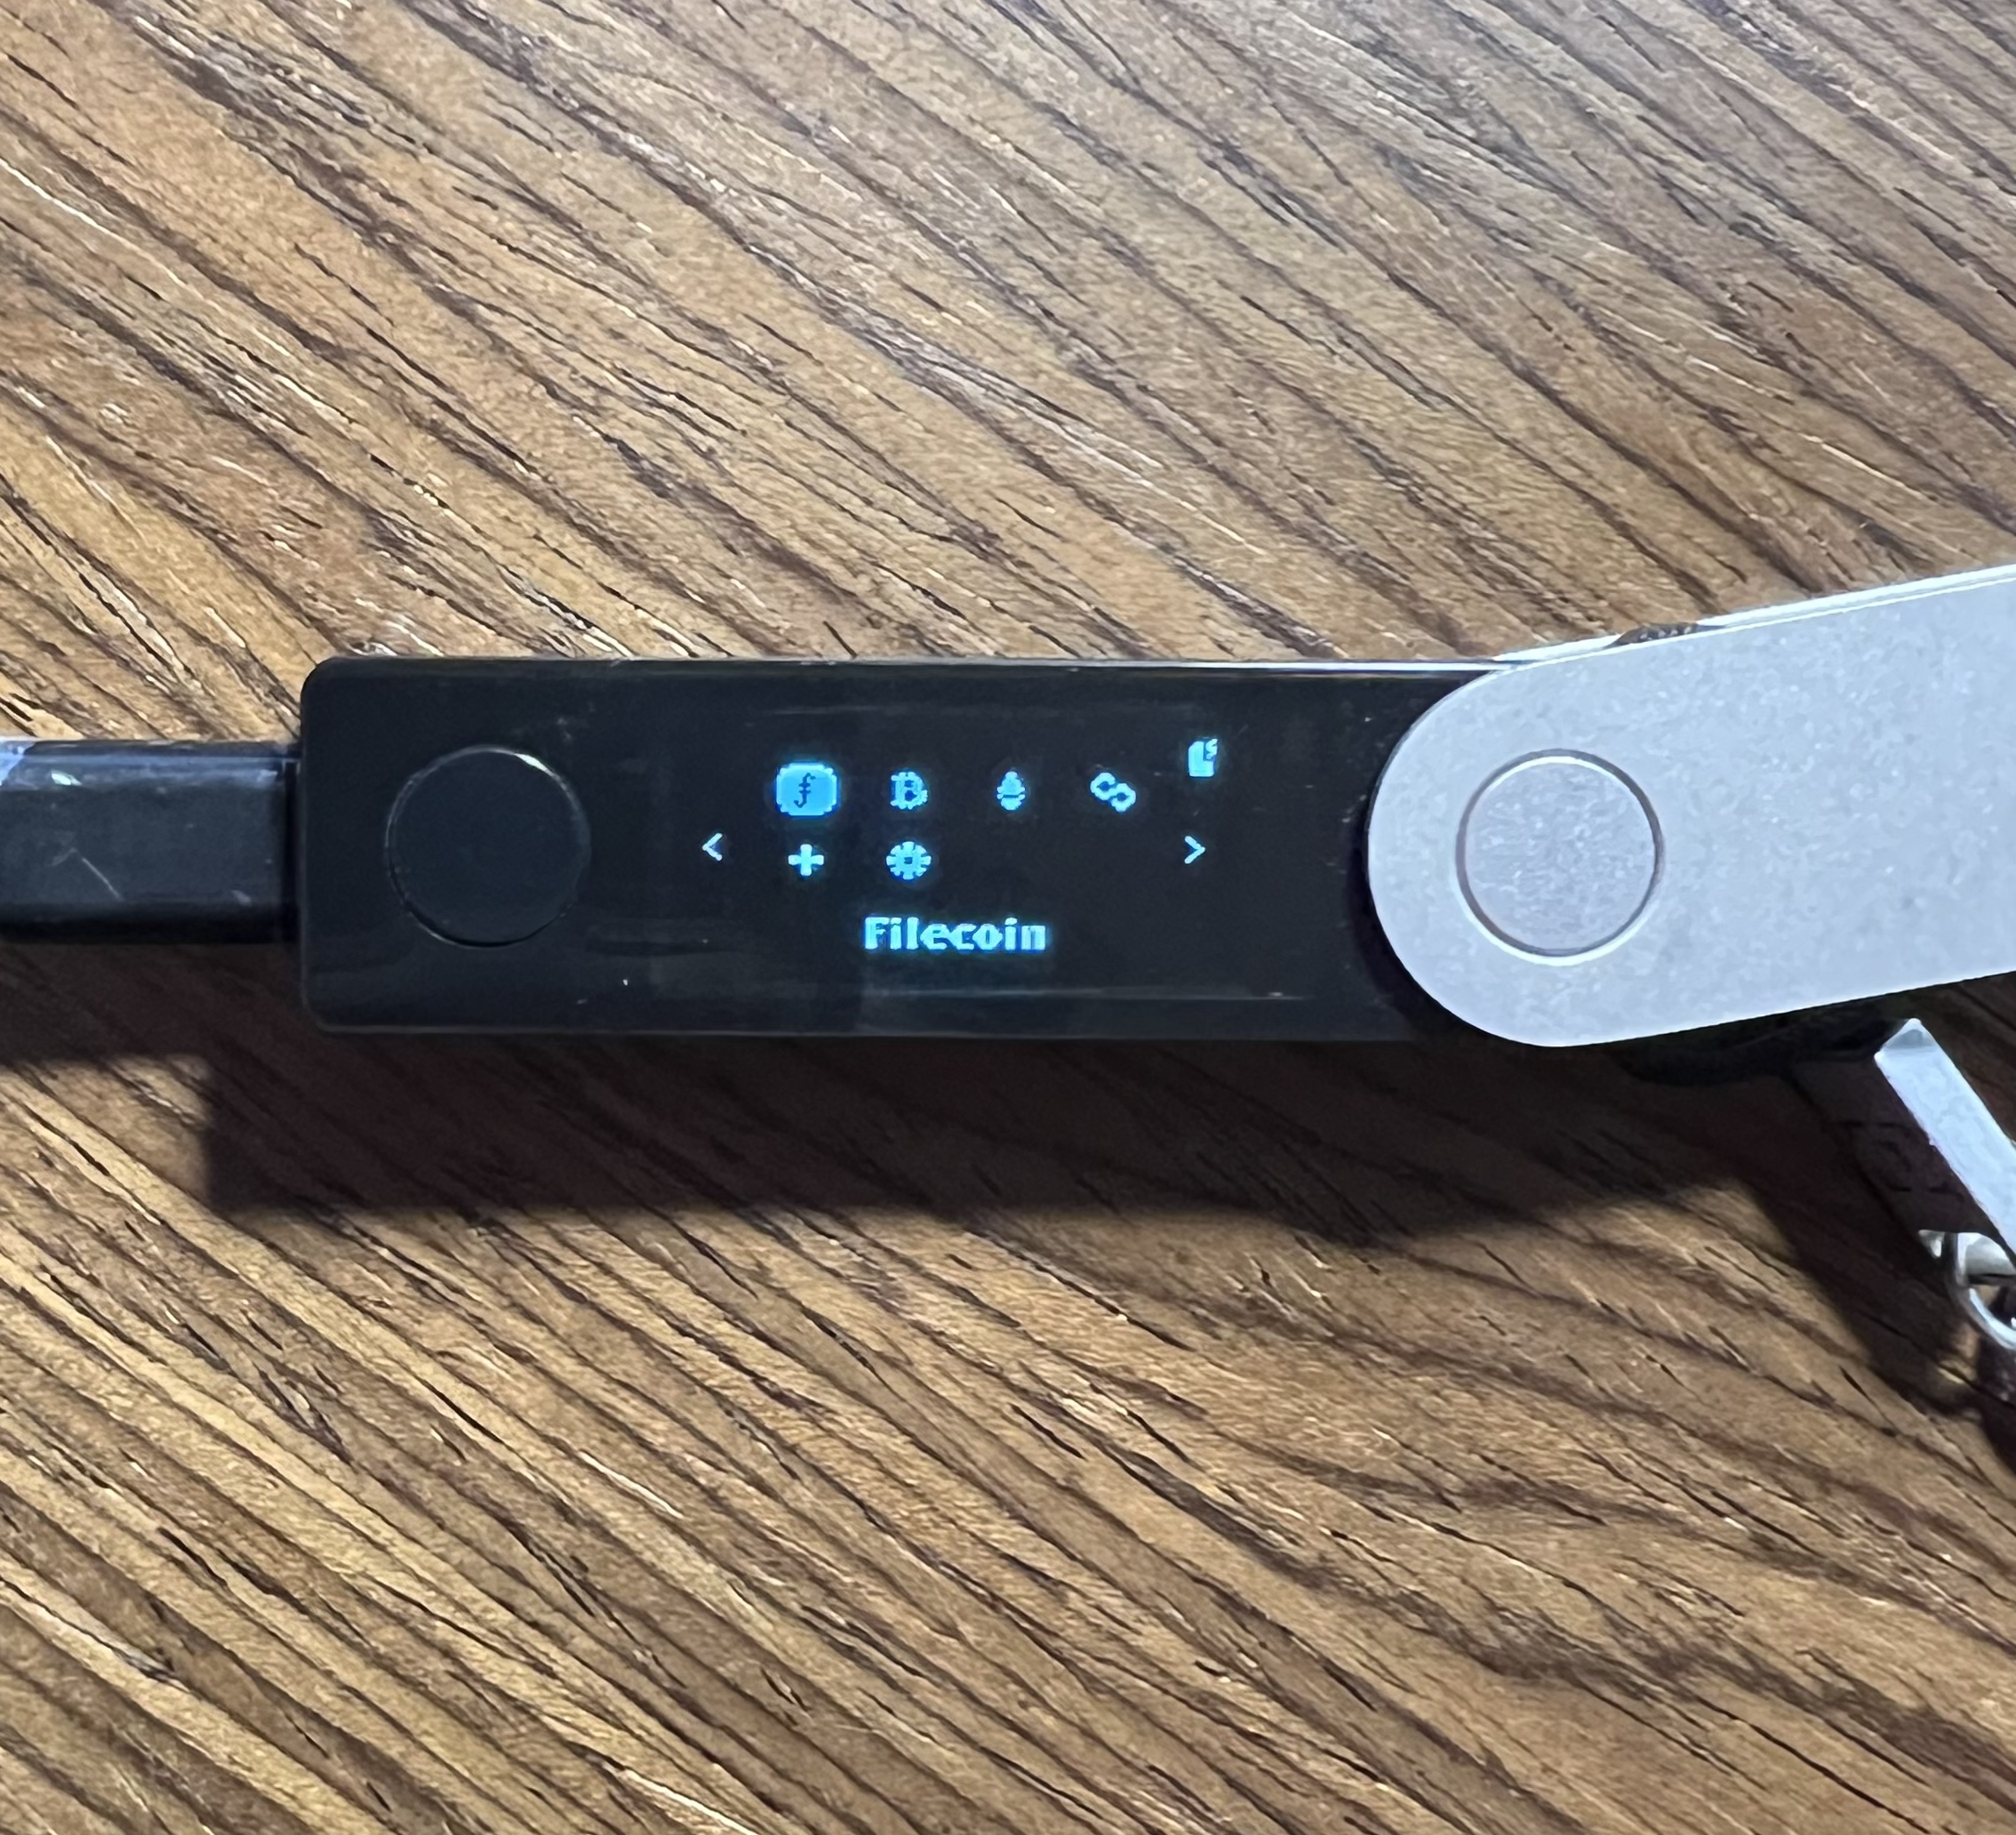
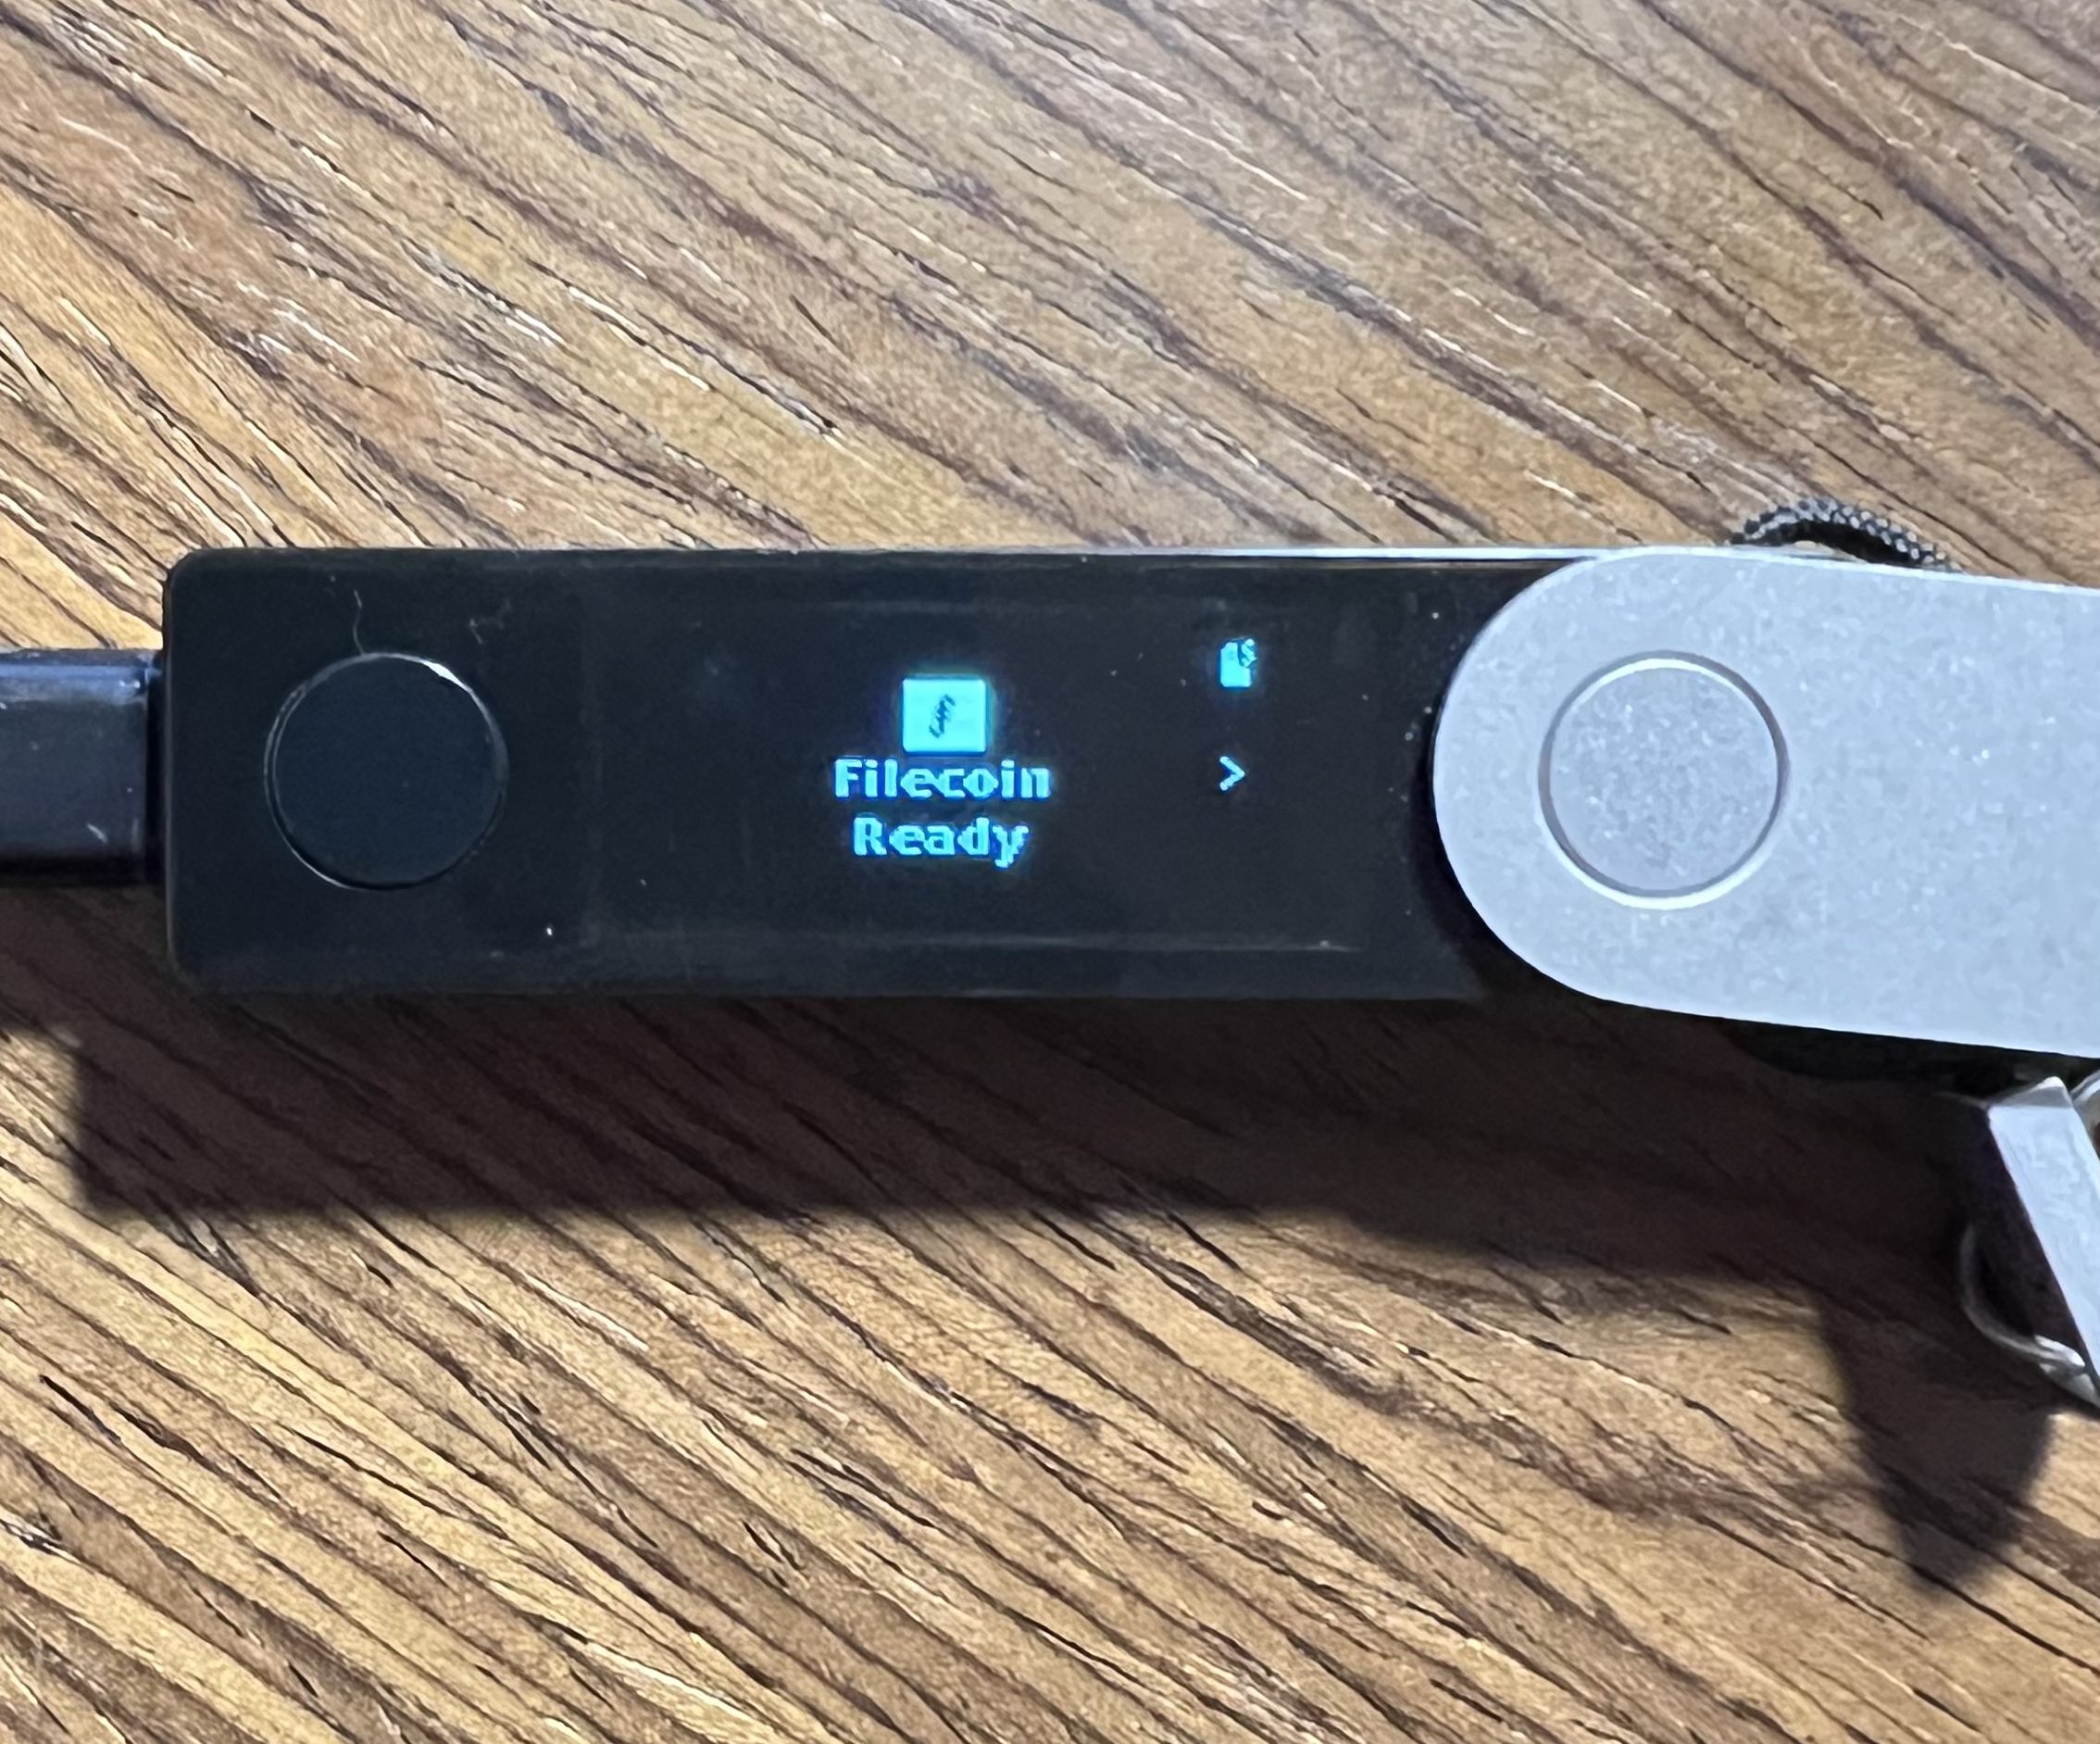
Select the filecoin app and ensure “Filecoin Ready” is displayed.
2. Dapp connection
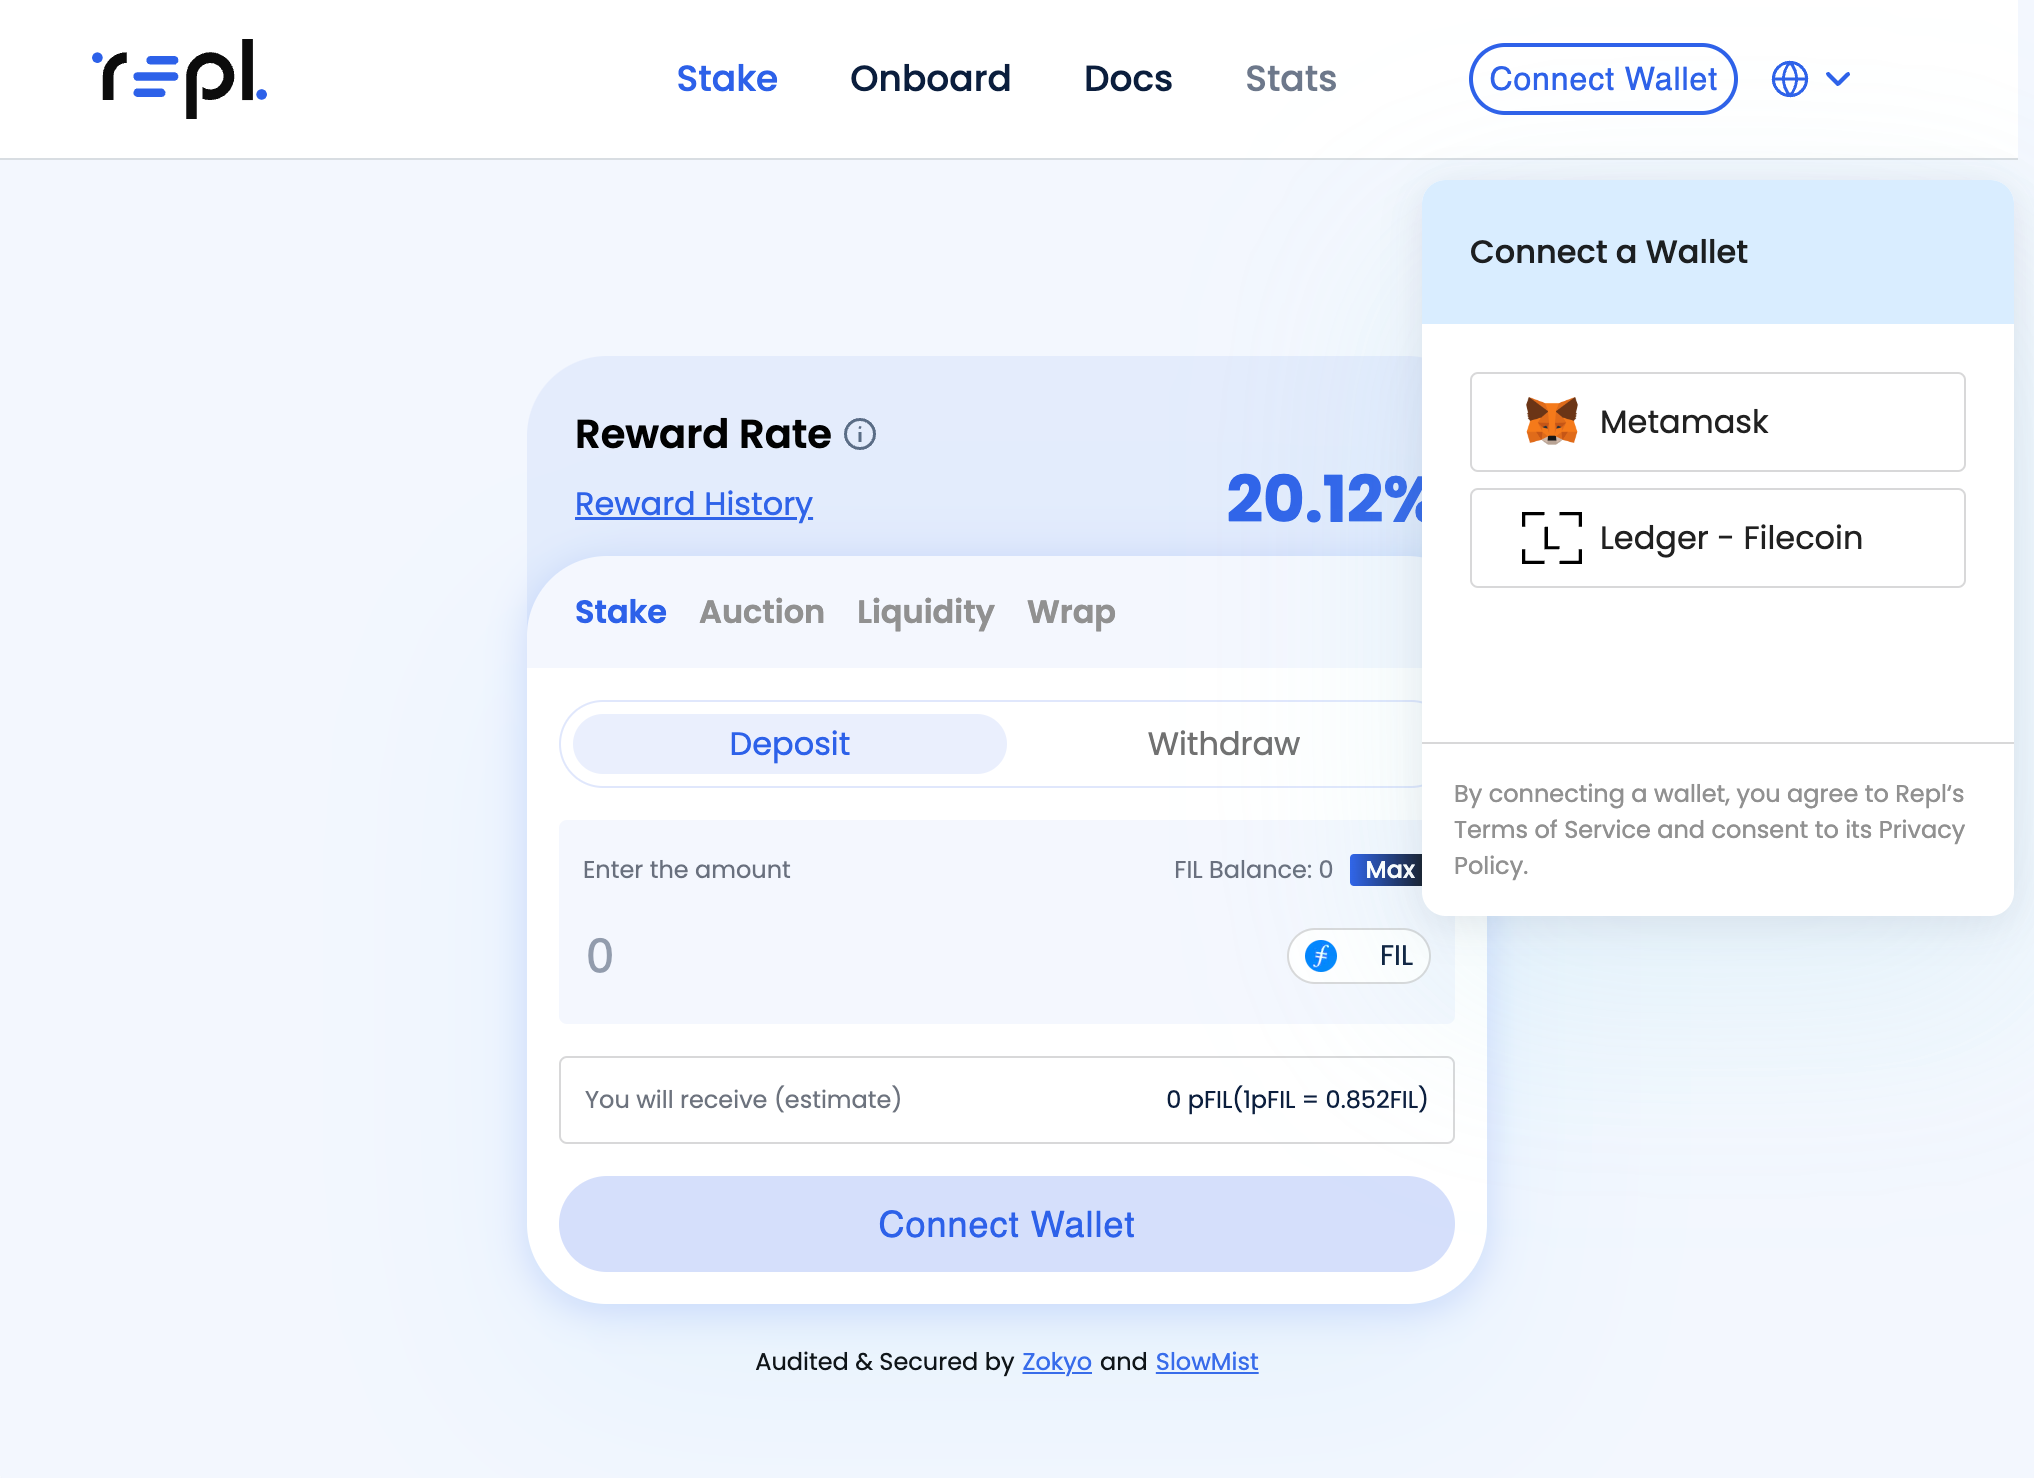
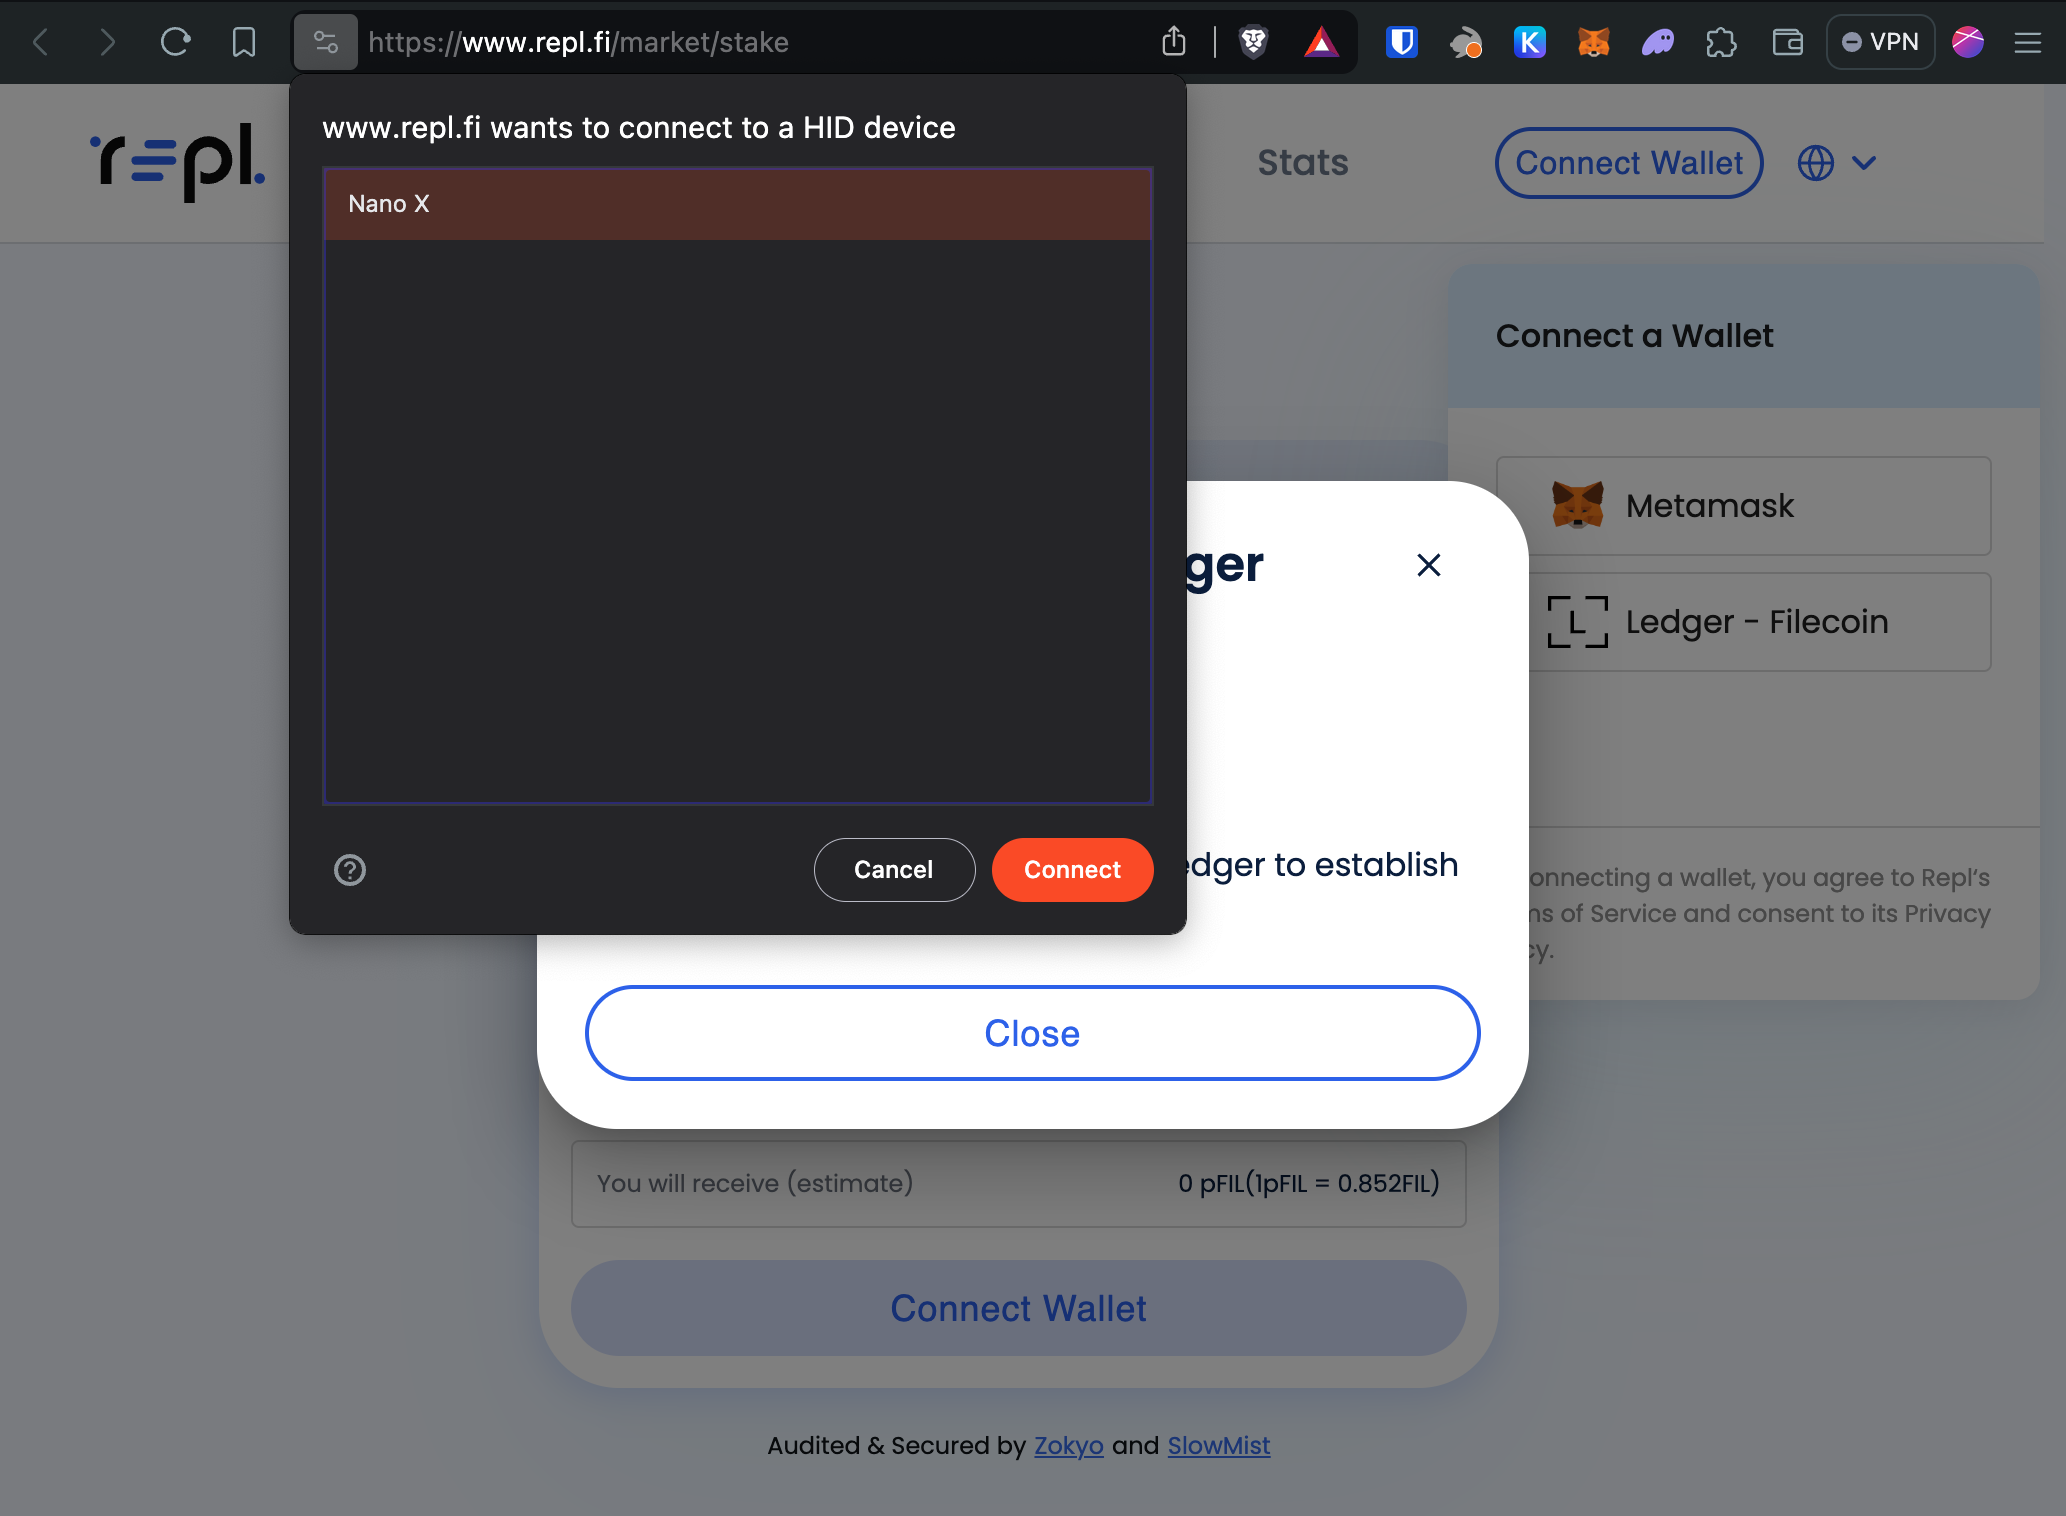
Next, select the “Connect Wallet” button on the top right hand corner of the app, to reveal the Ledger - Filecoin option.
On the first connection, a prompt will appear indicating a request from the browser to connect to a HID device. Select Ledger, and proceed to click on “Connect”. This allows Ledger to connect directly with webpages in the browser. All transactions will still have to be approved manually on the physical Ledger.
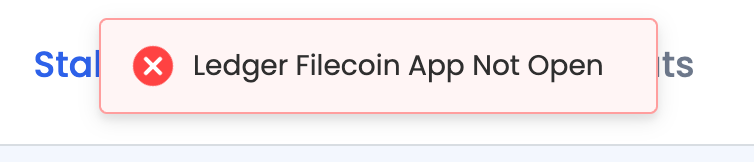
A prompt will be displayed if Ledger is not on the filecoin app (as mentioned in the first step).
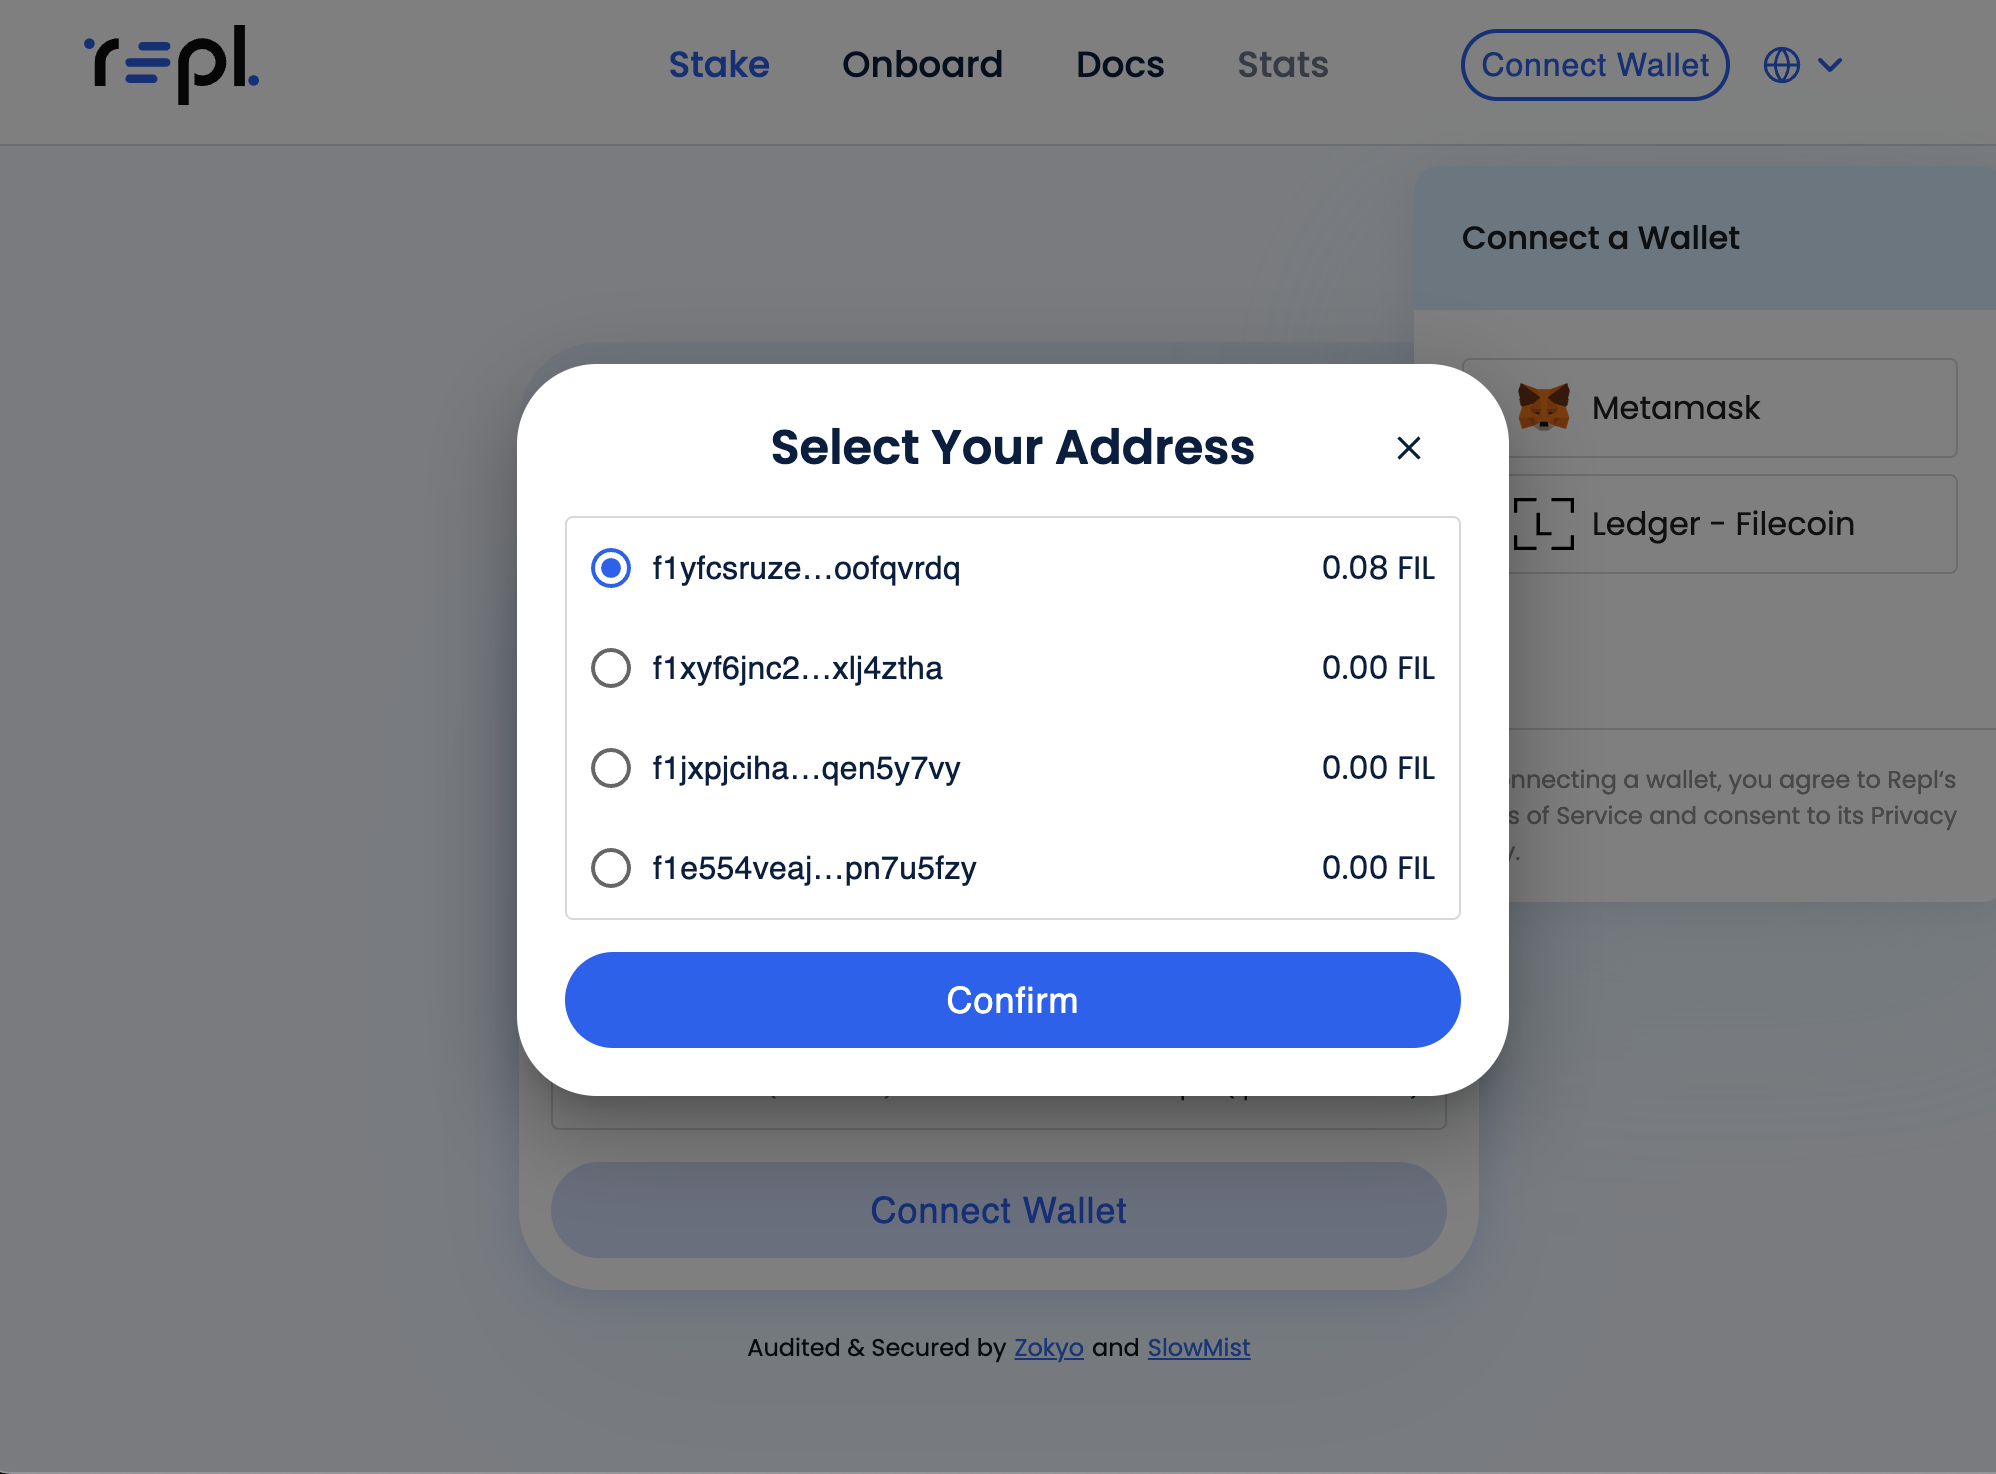
Upon successful connection, a list of wallet addresses will be displayed. These addresses are all derived from Ledger seed phrase. Select the address to connect to the Dapp with.
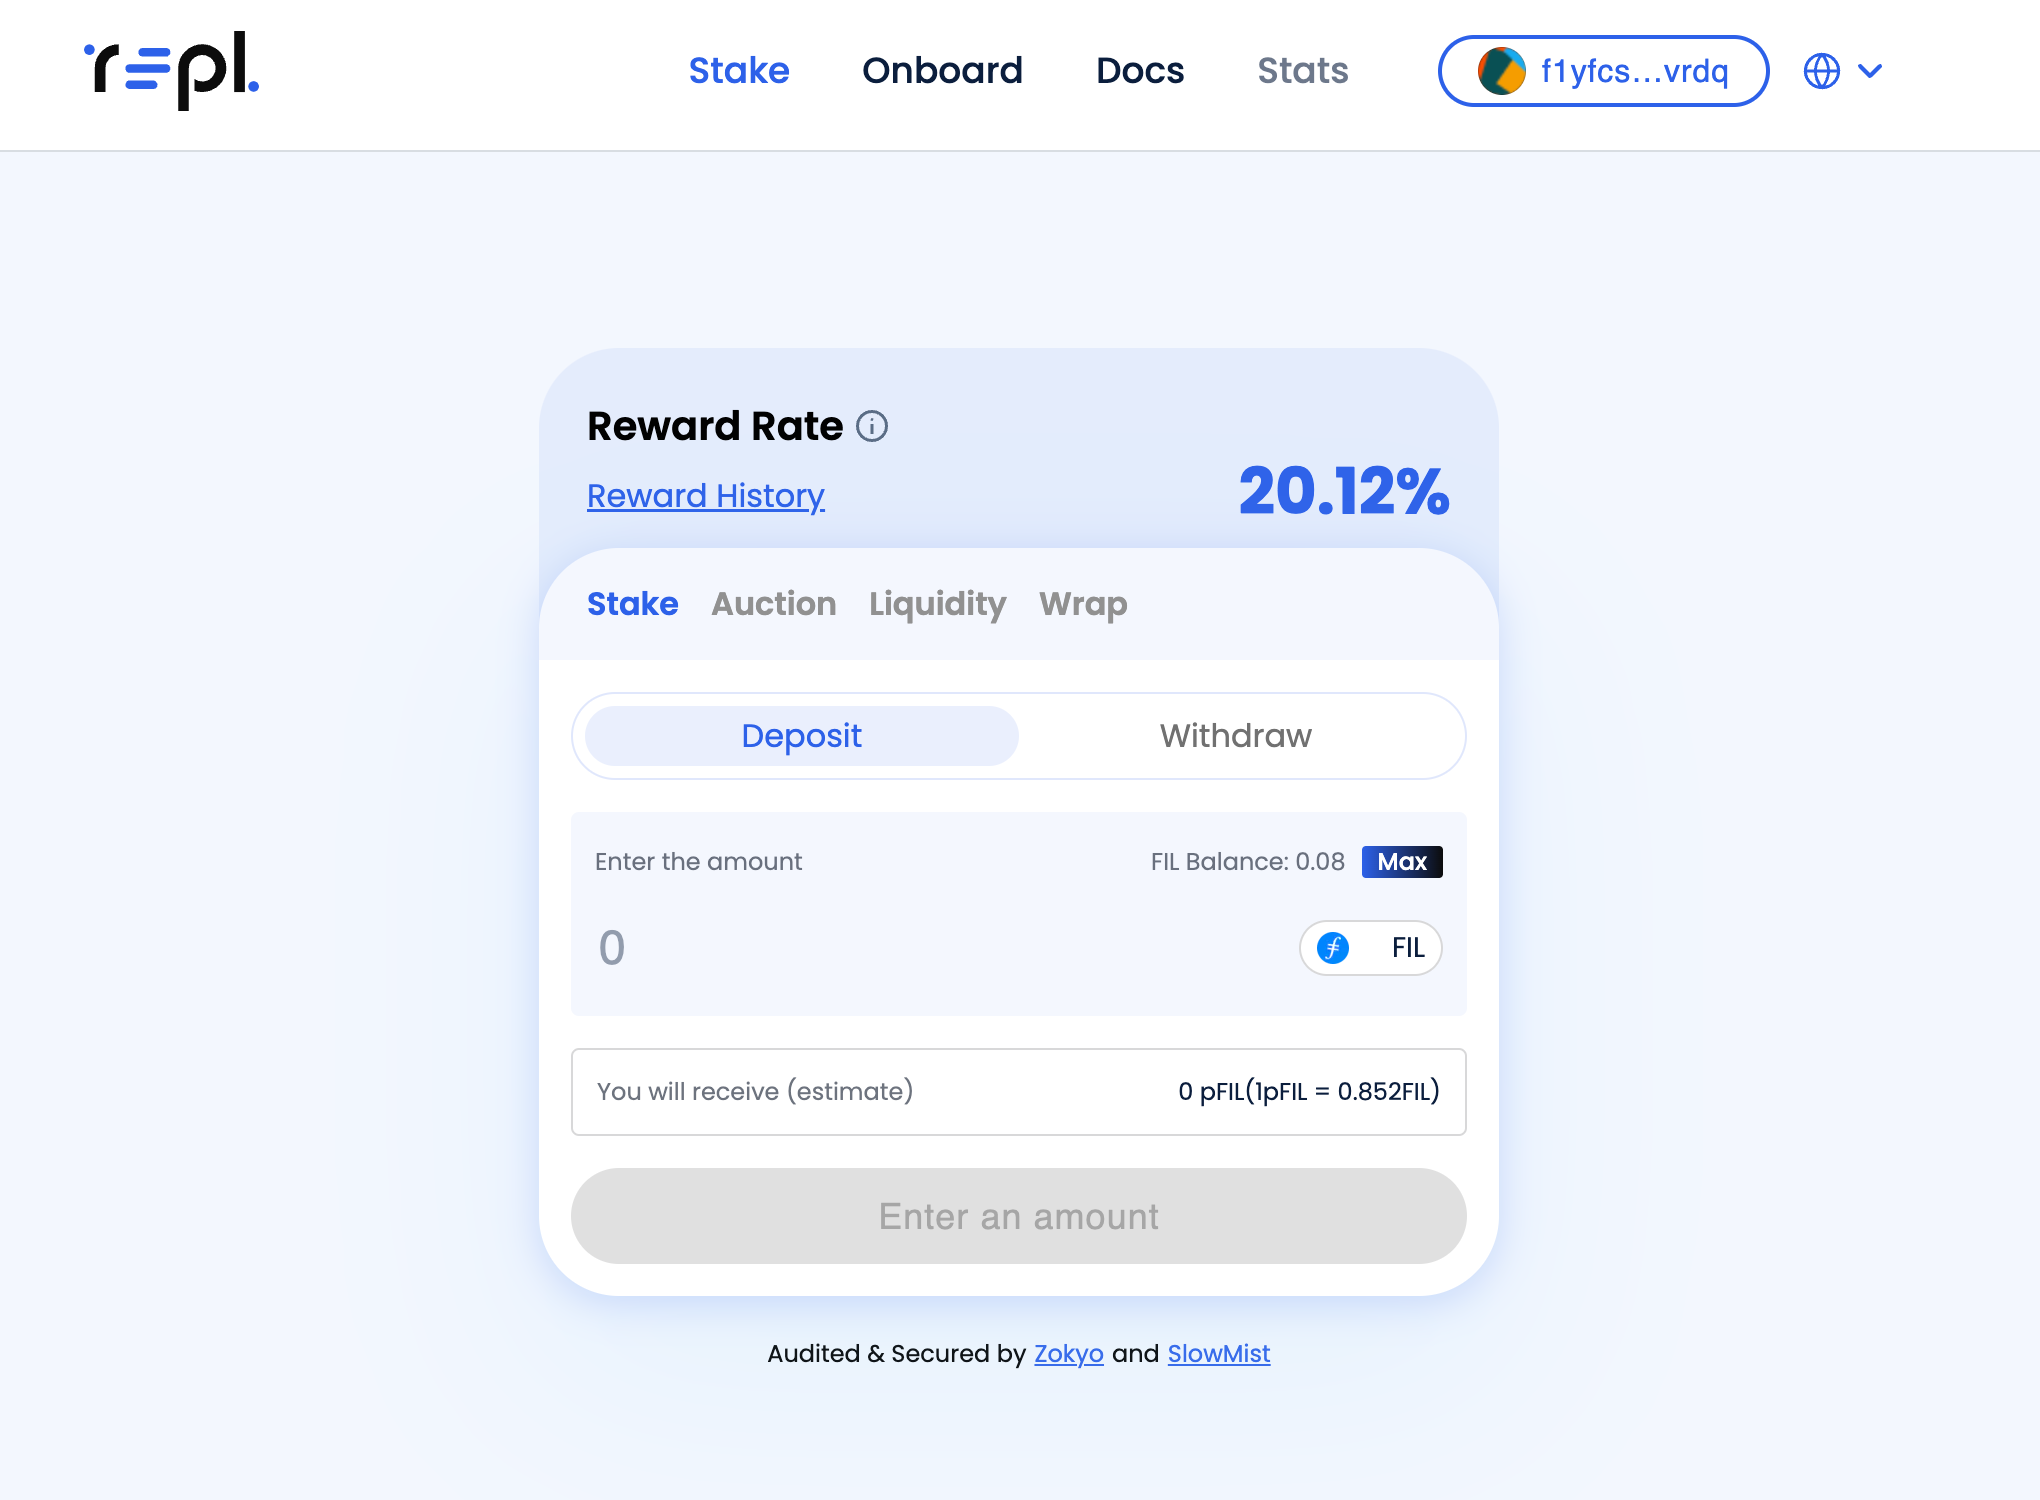
Upon successful connection, corresponding address should be displayed in the wallet connection button as shown below.
3. Approving deposits with Ledger
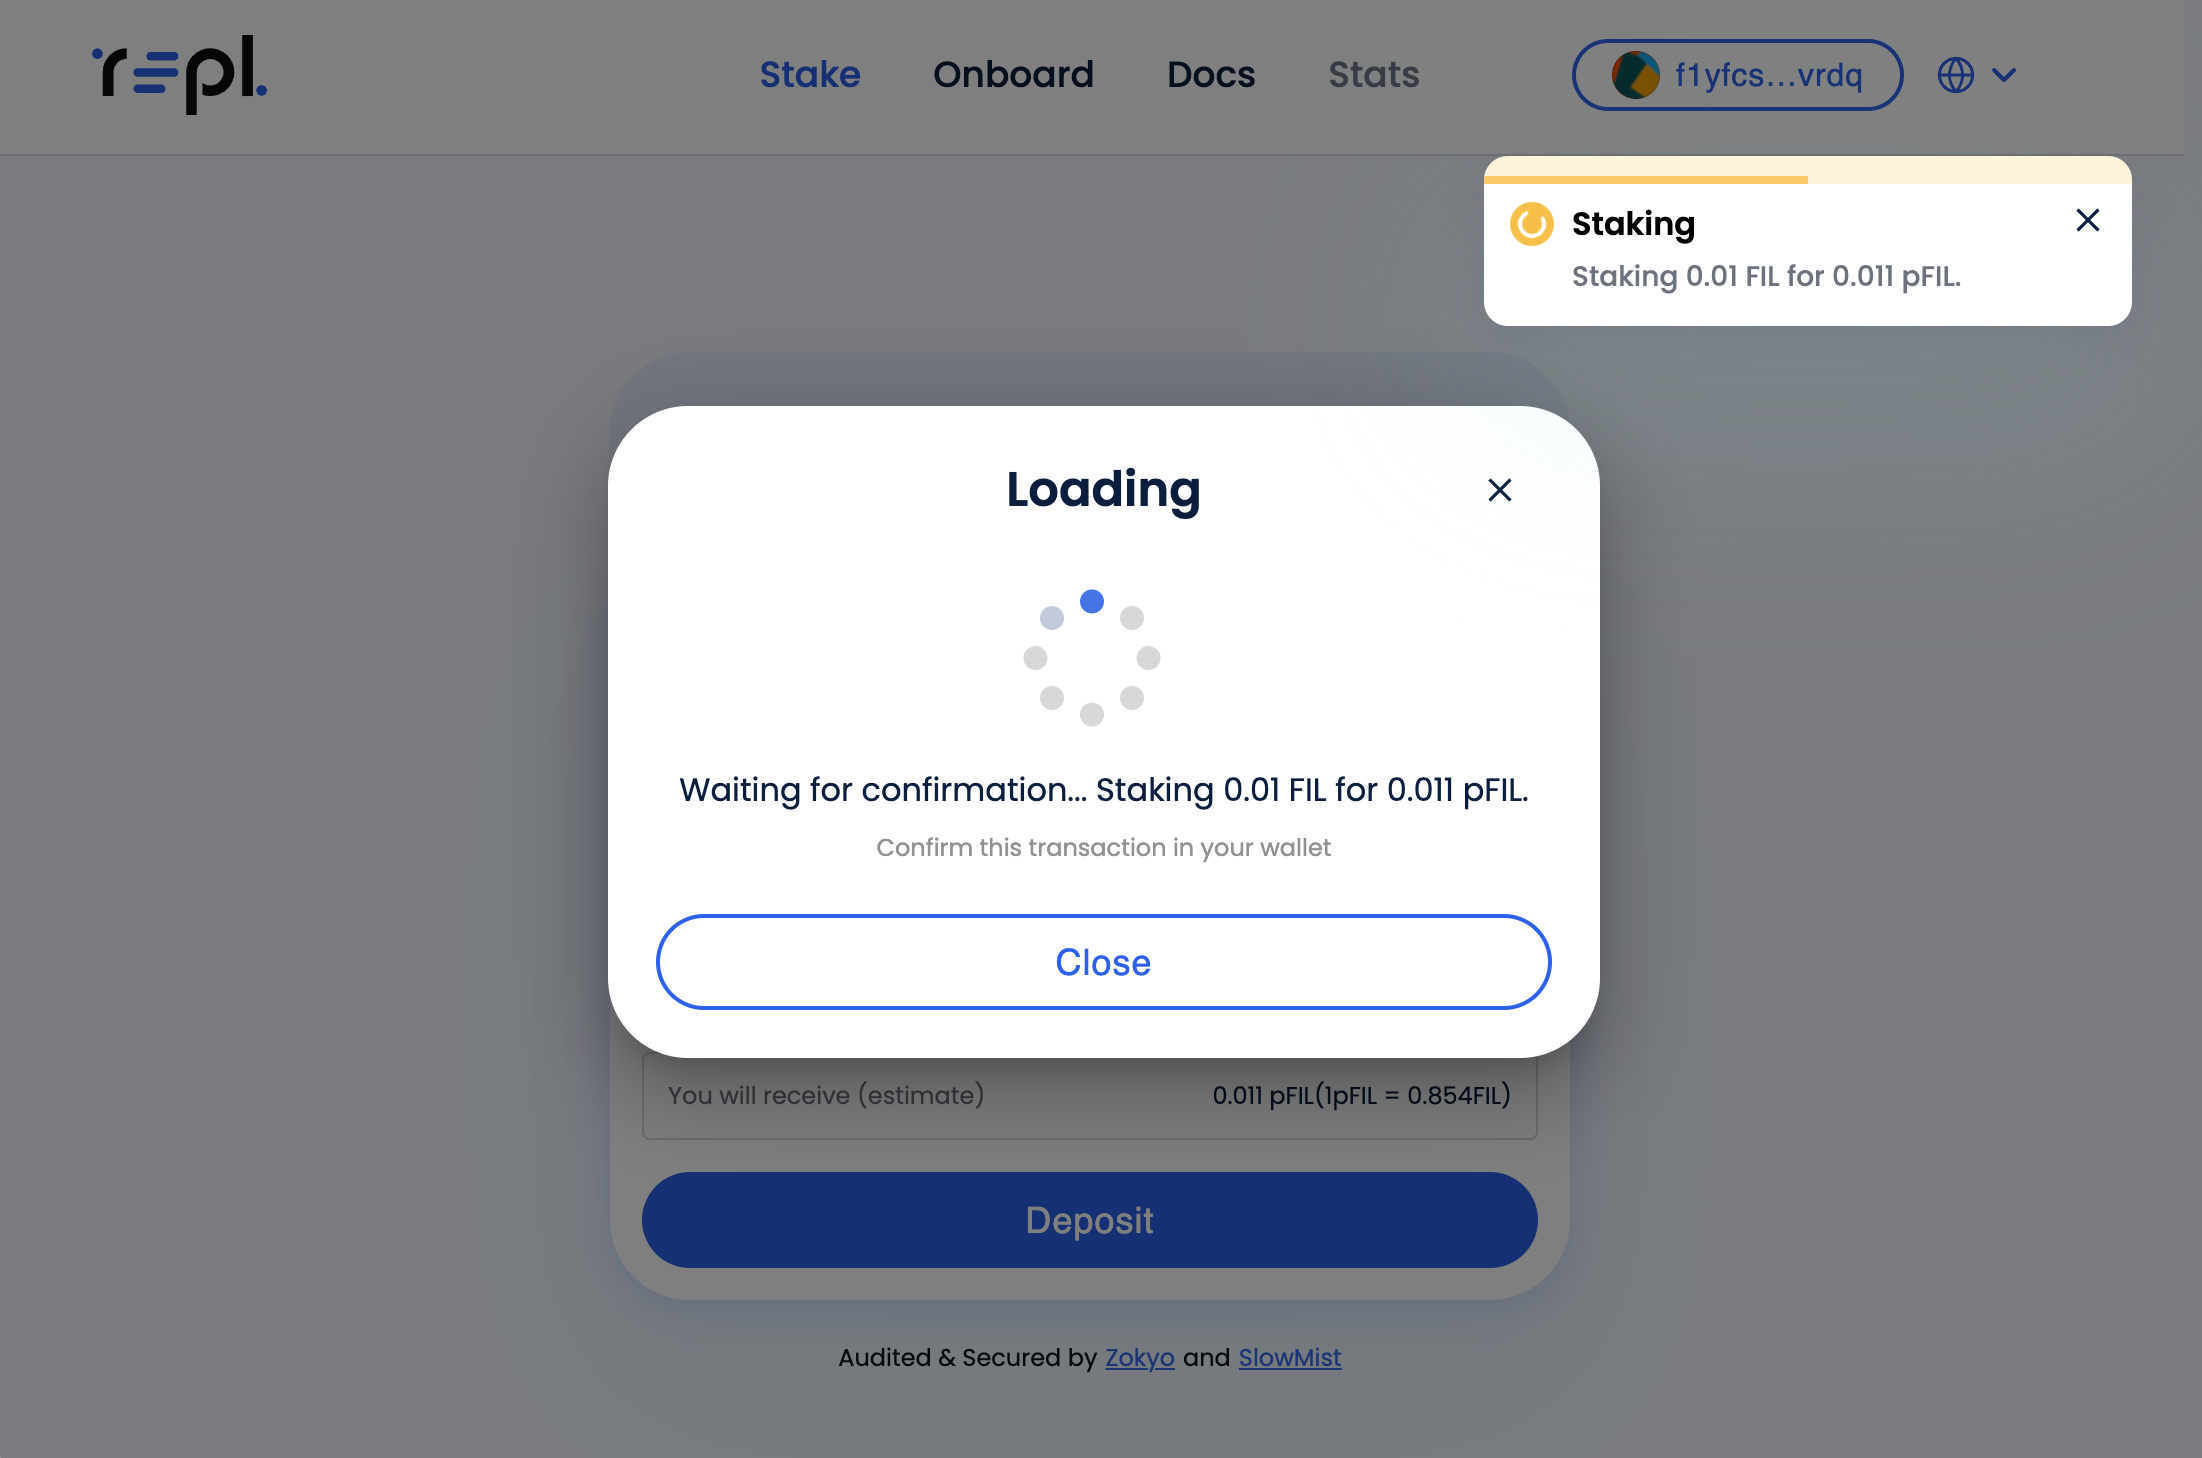
One main difference between using a hot wallet and a cold storage wallet like Ledger is the approval of transactions, as signing of transactions via Ledger has to be done physically. Upon entering the FIL amount and clicking “Confirm”, a loading window appears.
The text “Please review” will be displayed on the ledger, followed by a series of transaction details to review.
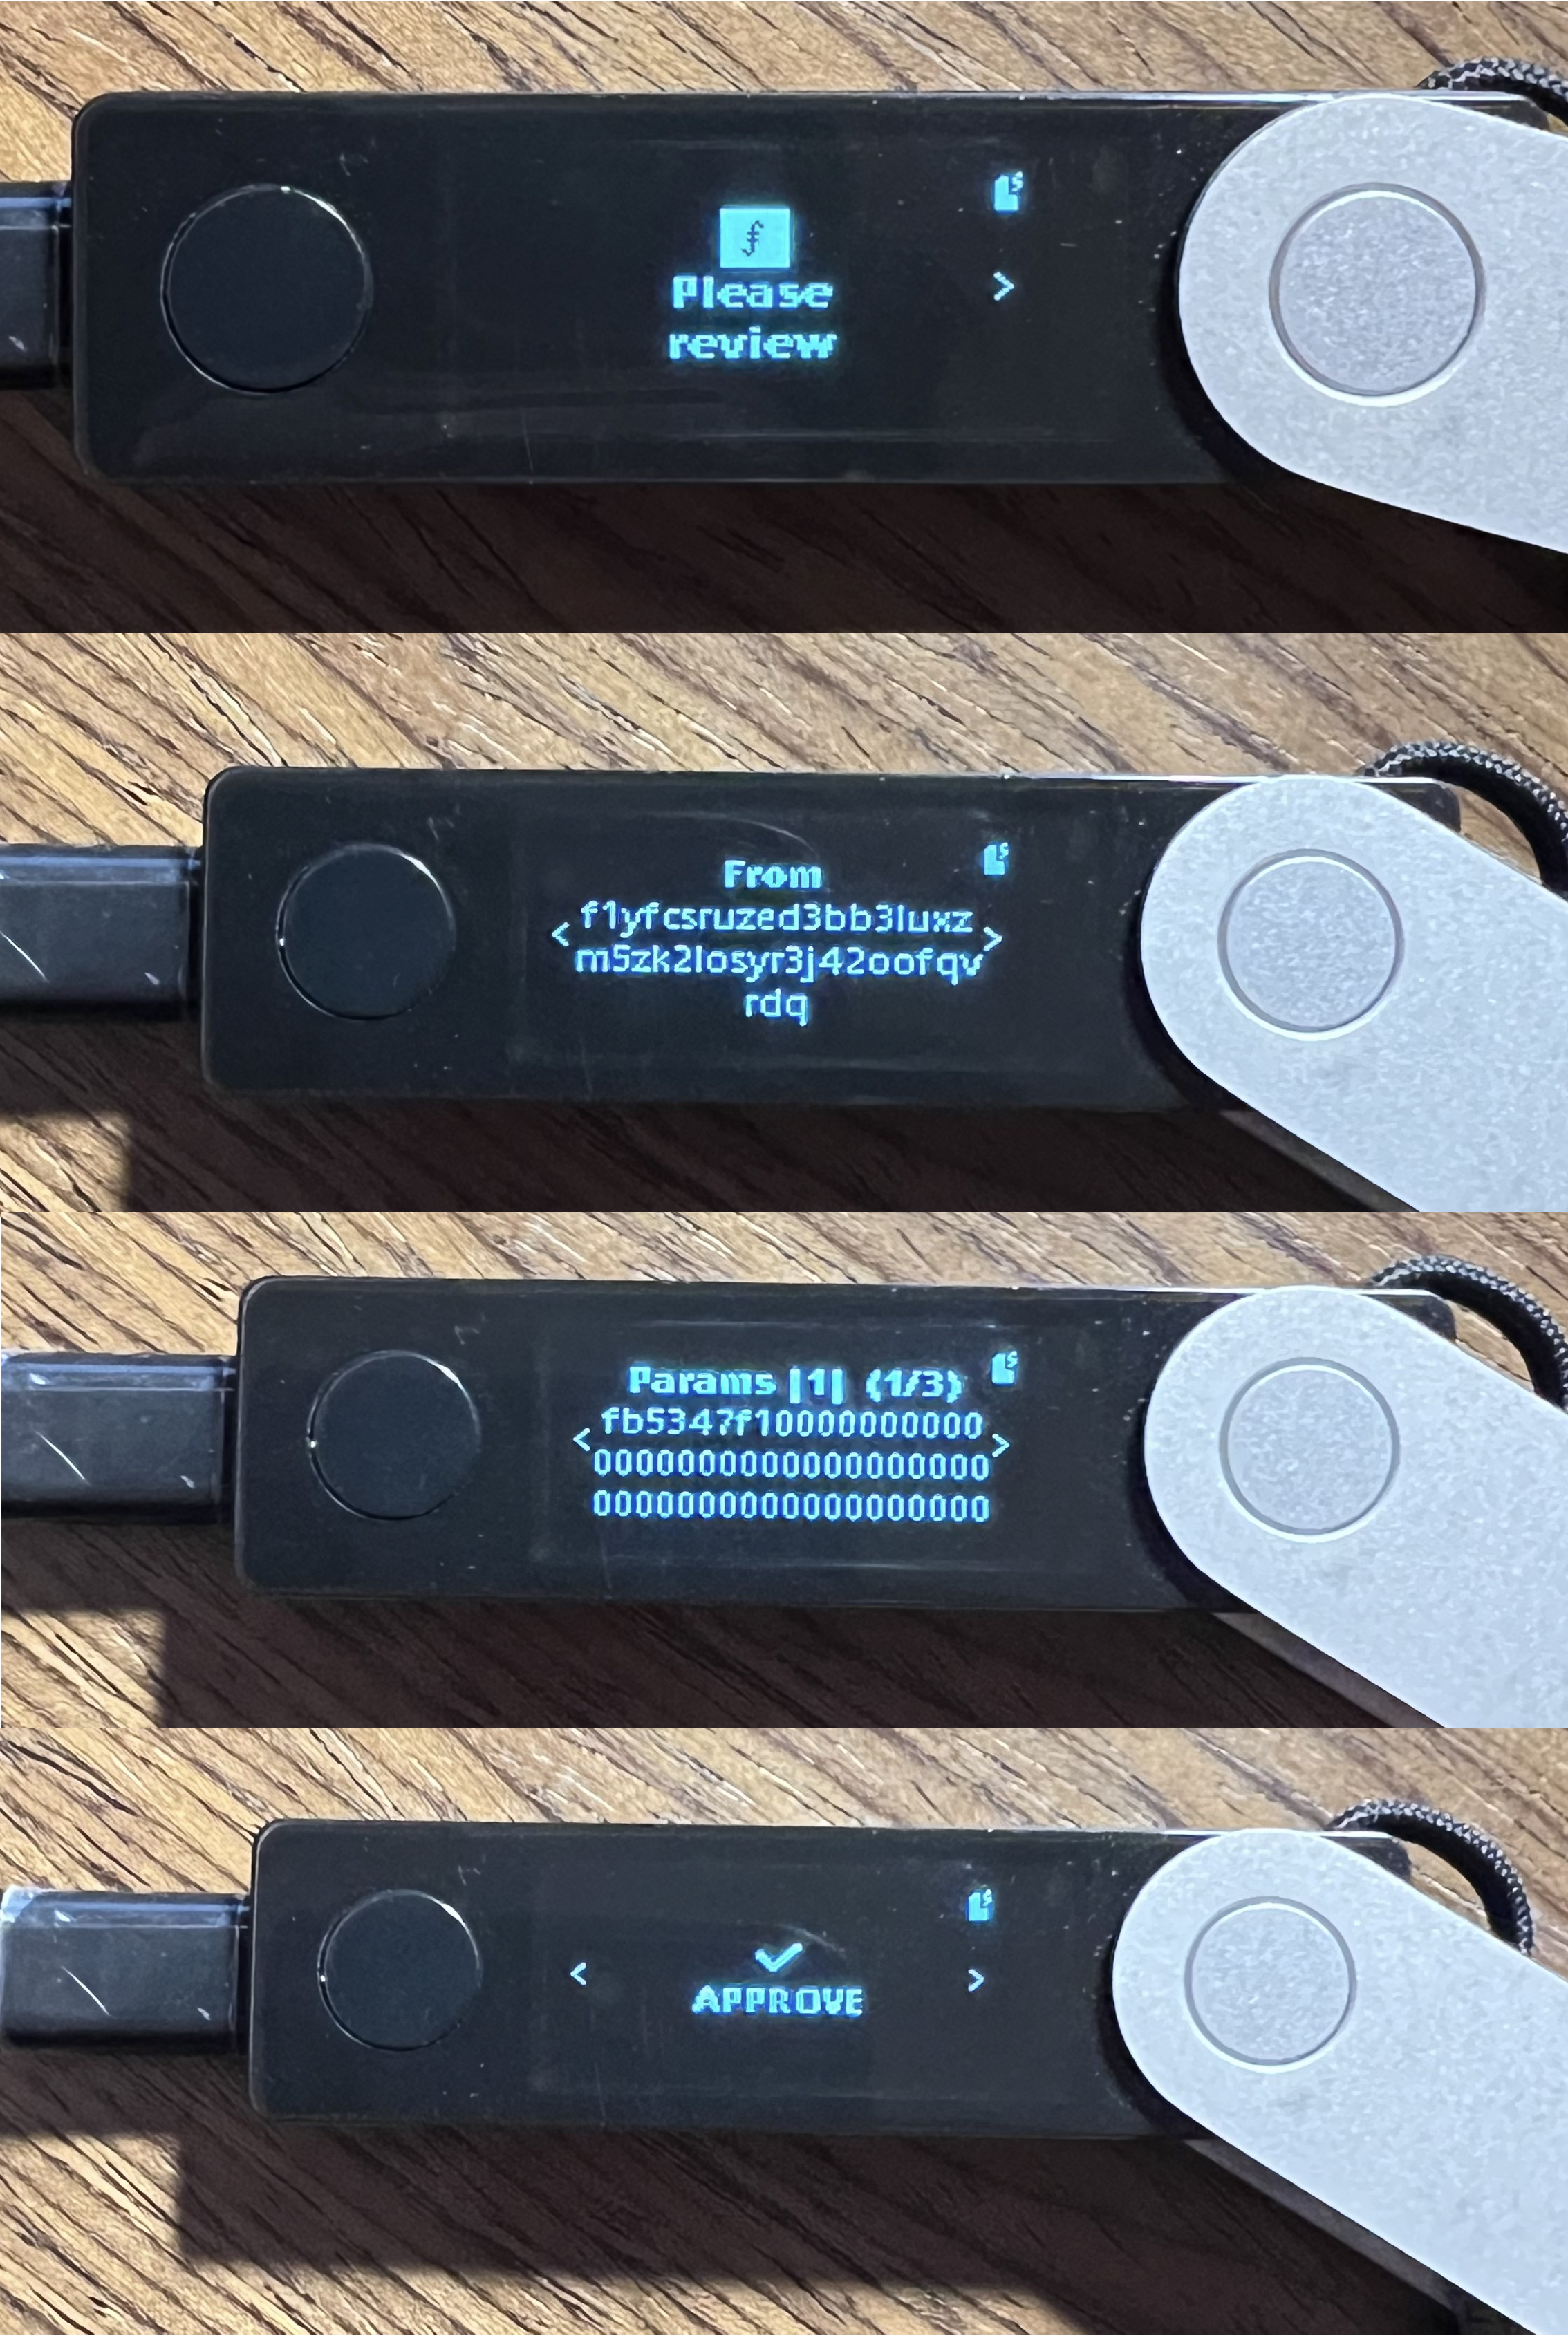
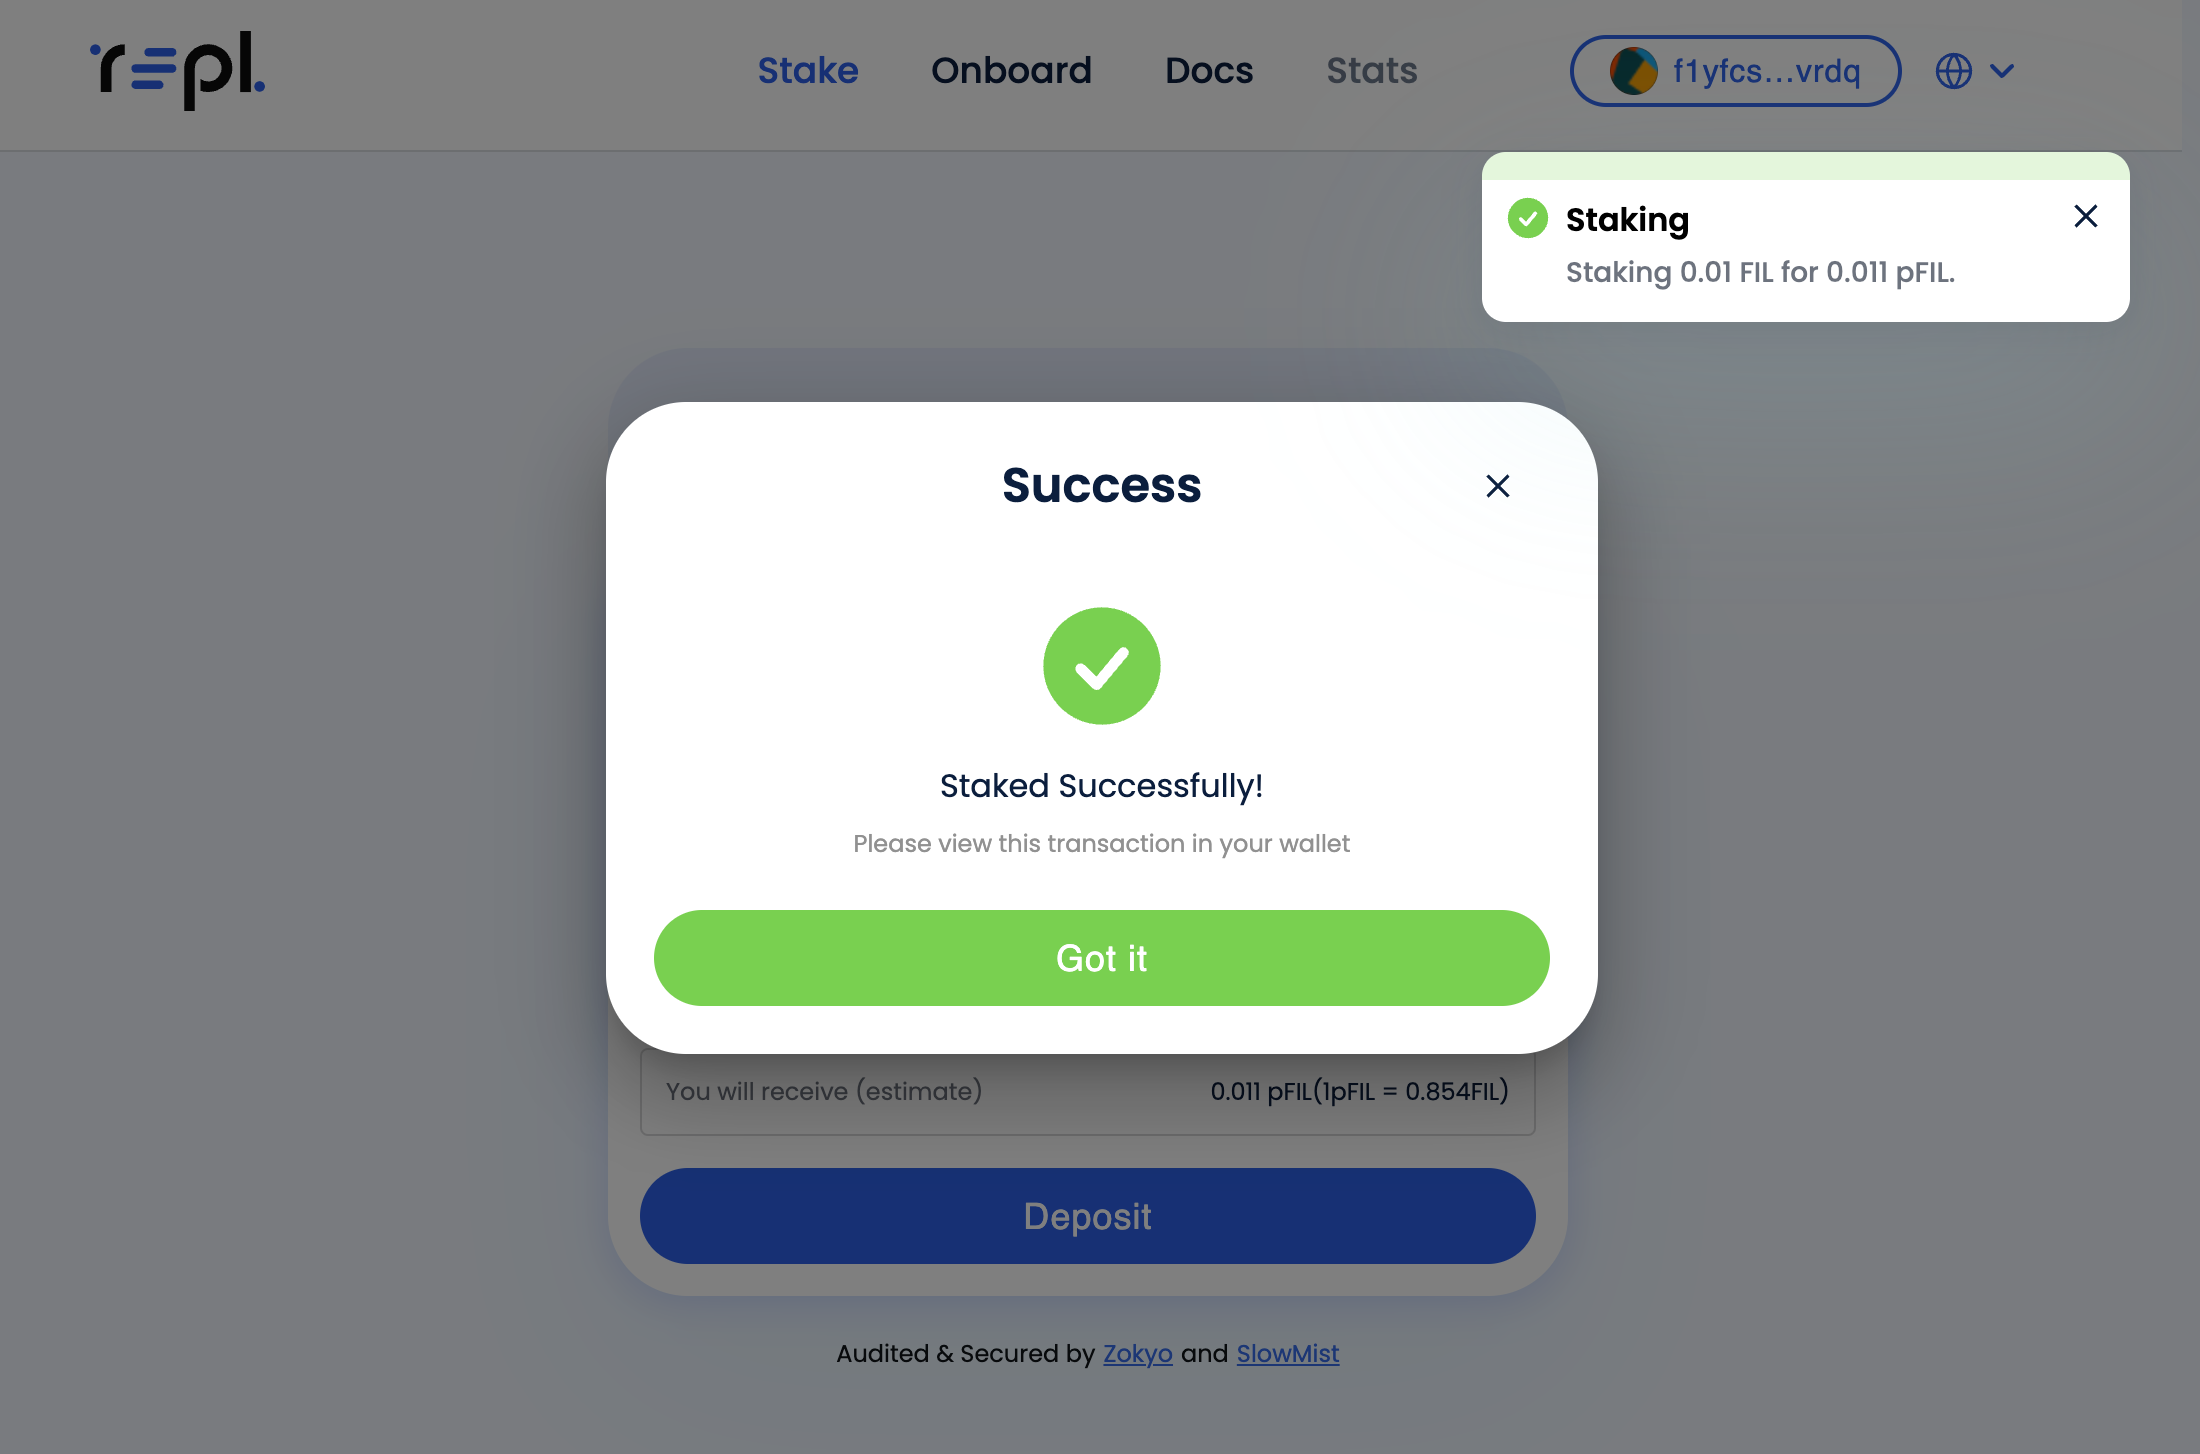
On the Ledger device, the text “Please review” will be displayed, followed by a series of transaction details to review. Approve the transaction by navigating to the end and selecting “Approve” by pressing down on both ledger buttons simultaneously. The transaction will be sent and a successful transaction will look like the following.